The month of October is defined by pumpkin! From pumpkin patches, to pumpkin recipes, to pumpkin carving, this beloved gourd is the centerpiece of the season. While we love a classic carved pumpkin, we wanted to add a fun twist to the usual burlap and brown Autumn decorations this season. This is a fun and easy project that will add a little color to your Fall décor! These painted pumpkins would make great place settings for an autumn party! Take a peek to learn how to make these chic pumpkins....

Materials:
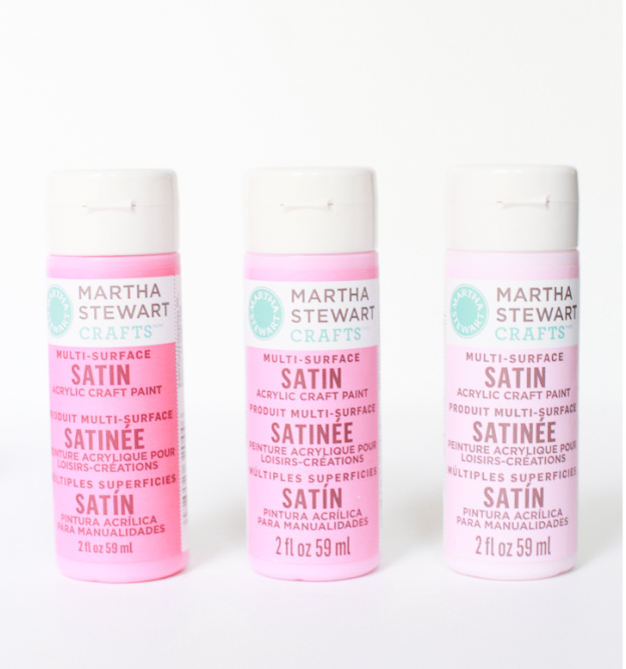
- Satin Acrylic Paint
- Paintbrushes
- Gold Paint or Glitter
- PVA glue
- Newspaper
Instructions:
1. Pumpkin Prep
First, take a damp paper towel and clean and dry pumpkins. Making sure you remove all the dust and dirt. Then Allow them to dry completely before applying any paint. While you're waiting for your pumpkins to dry, create a workspace by laying down newspaper, to protect your surface from any paint drips.
2. Paint First Coat
Once you have removed any dirt, turn your pumpkin upside down. Then choose your paint color and use the same brush stroke in a downward motion so that the pumpkins have an even finish. Leave the pumpkin to dry for 15- 20 minutes, until it’s dry to the touch. You can also use a hair dryer to speed up the time between coats!

3. Add Second Coat
Turn the pumpkin over again, so that the base is resting on your table. Repeat the process, adding another coat of paint and making sure to cover any spots that hadn't been thoroughly covered with paint. Make sure to use the same brush strokes, to insure your pumpkin has an even finish. Allow the the pumpkins to dry for a few hours.
4. Sprinkle A Touch Of Gold
For a fun and magical touch you can add gold or glitter to the stalk. Use an acrylic gold paint in an downward motion for the stalk. Or add a touch of glitter by applying a thin layer of glue to the stem, then sprinkle on the glitter! You can brush of any excess and let it sit for an hour to dry.
Your sparkling, pastel pumpkin is now ready for the ball! Have fun and be creative! You can paint these pumpkins in any color that you choose, your options are limitless.

If you make these chic pumpkins snap a photo and tag #BloomEnRose